The extractors presented a major challenge. Although desirable, it simply didn�t seem feasible to have a single extractor because of the considerable difference in diameters of the .22 LR to the 5.6x50R. Miniature Martini extractors are very difficult to come by and are expensive when you can find them.
Early on Morris suggested making them and when we got to the point where this was the last thing remaining to be done I gave in.
I have five original extractors for Morris to work from and he developed a Master Cam solid and created perfect extractors with the HAAS.

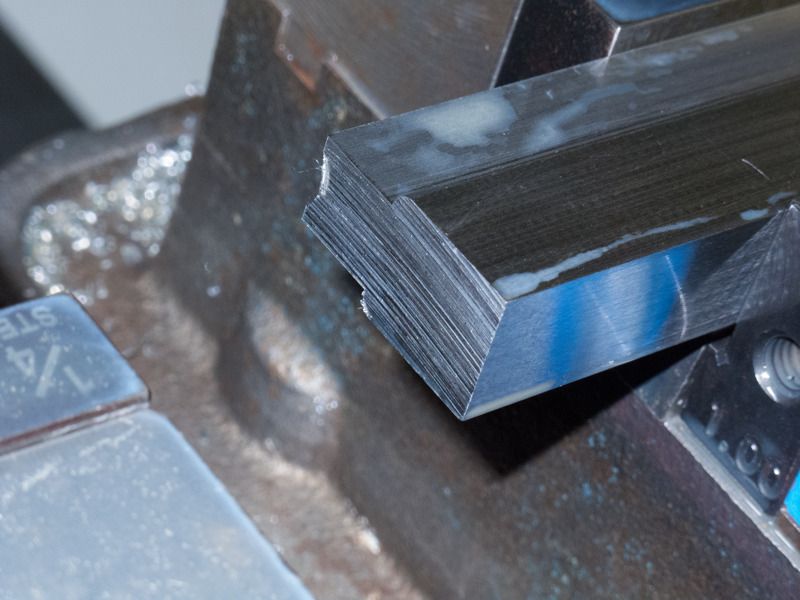
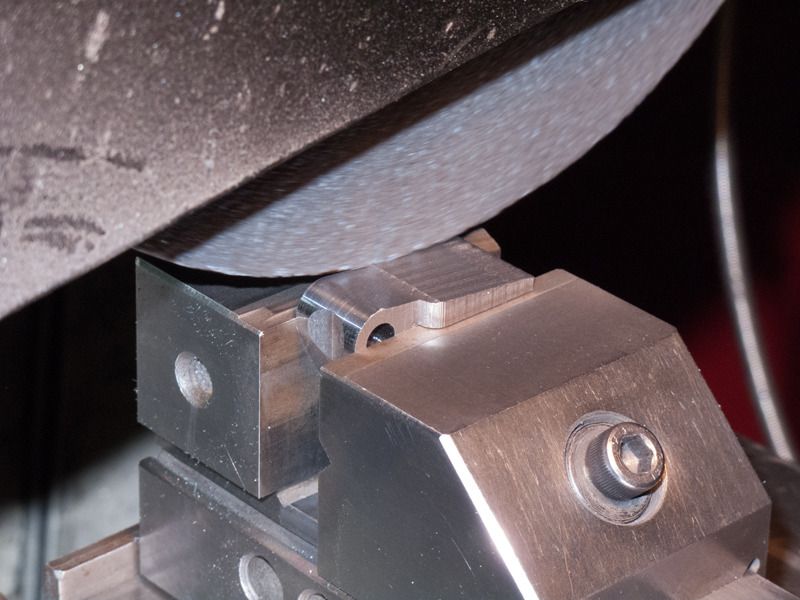
First, a 1018 bar was milled to the side profile of the extractor. This was then mounted in a vise and milled as shown in the photos.
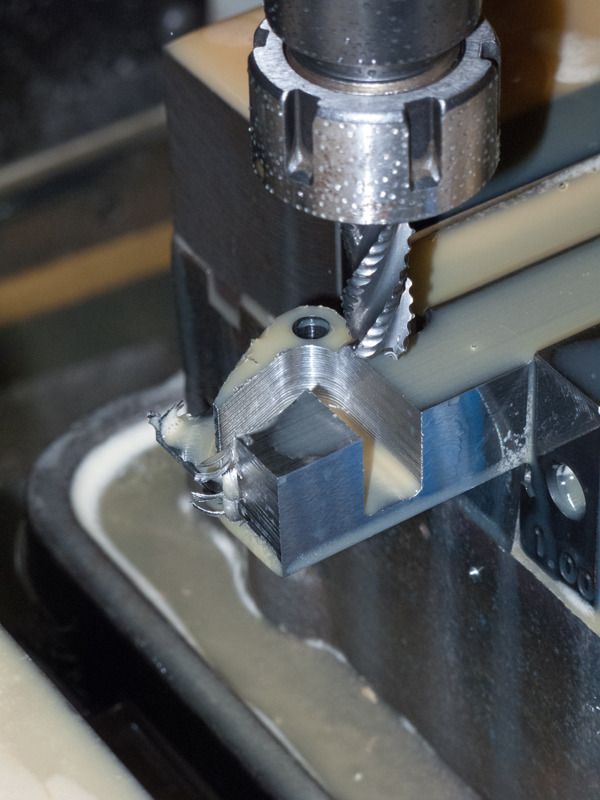
A slight lip remained on the lower part of the extractor after shaping with the mill and this was rough ground off. Each extractor was then secured in a tool maker�s vise on a sine plate and the face of the extractor was milled flat and the lip, which was above the final surface, was removed.
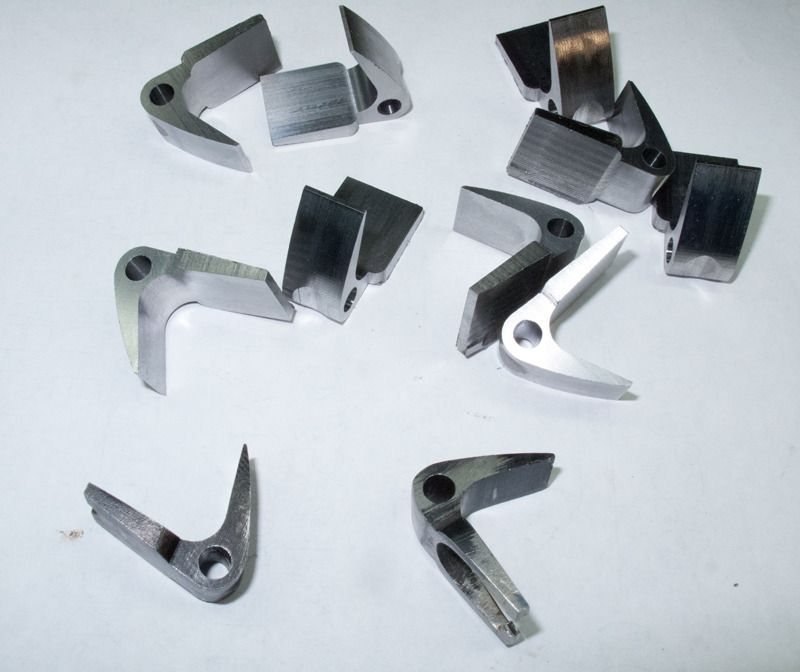
Two original extractors are in the foreground.
The sine plate was needed because the front and back of the Martini extractor are not parallel. For reference the rear surface of the extractor is perpendicular to the axis of the bore.
Now I needed to hand fit each of the extractors. Since Morris had meticulously ensured that the standing part of the extractor was precisely the same thickness as the original Model 6 extractor, I would be removing metal from the bevel of the breach end of the barrel for the fitting.
The extractors were intentionally left high on the operative ear so the first step was to reduce the height to just clear the beveled mill cut done some time ago on the breach end of each barrel. Dykem was used to spot each extractor�s height in to its barrel before any metal was removed from the barrel. After the correct height was achieved, Prussian blue was used to move the extractor into its correct depth of rotation by carefully removing metal from the barrel.
This was tedious and time intensive. A gauge pin that fitted tightly into the rear of the chamber was brushed with Prussian blue and the extractor was rotated forward. �Shows� were removed and eventually the chamber portion of the extractor fitting was done.
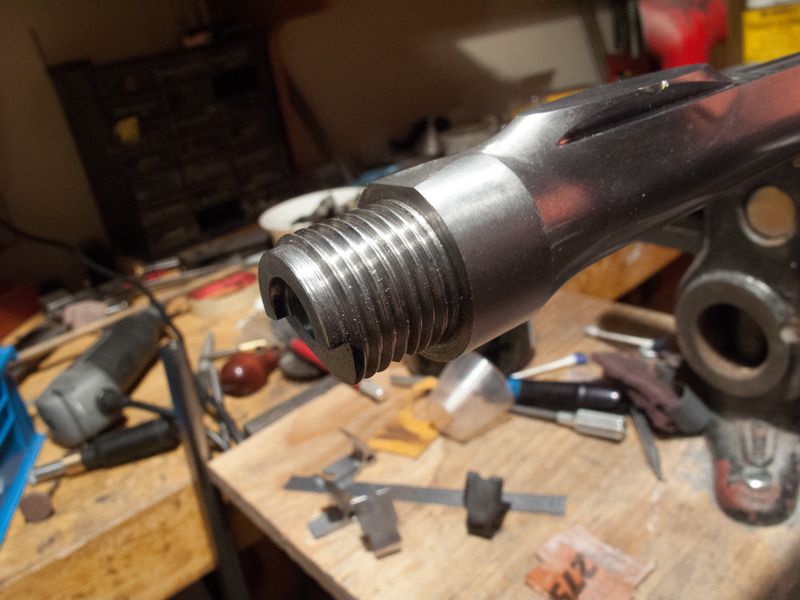
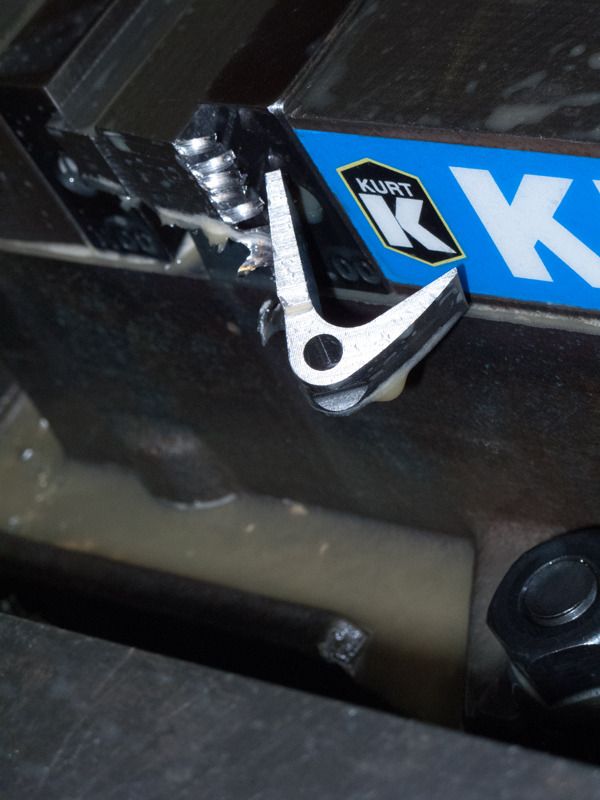
A completed breach end after final extractor fitting.
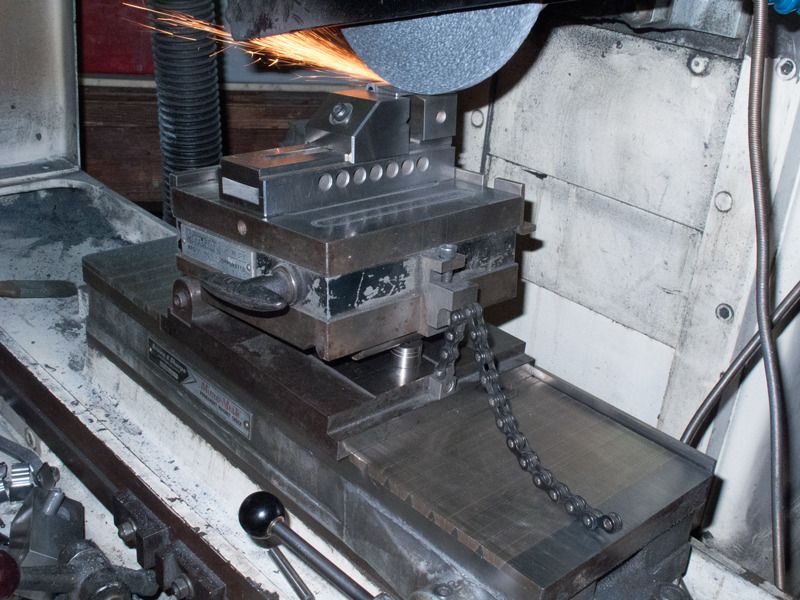
The final step would be cutting the extractor rim. Morris� arguments won out and EDM milling was used.
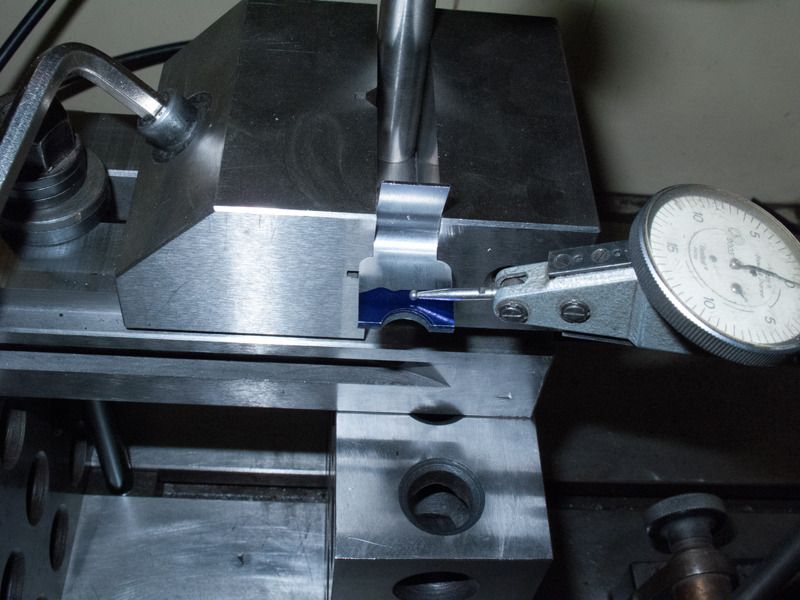
EDM dial in for extractor rim cut.
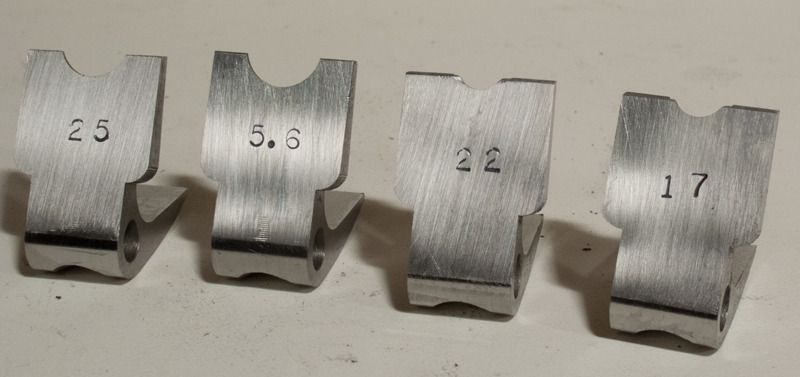
Finally, I stamped each extractor to make identification easy. Here are the finished extractors.
I have the final finish built up on all forearms and the buttstock and the pores are filled. I will work on the sand out next.
Dennis


