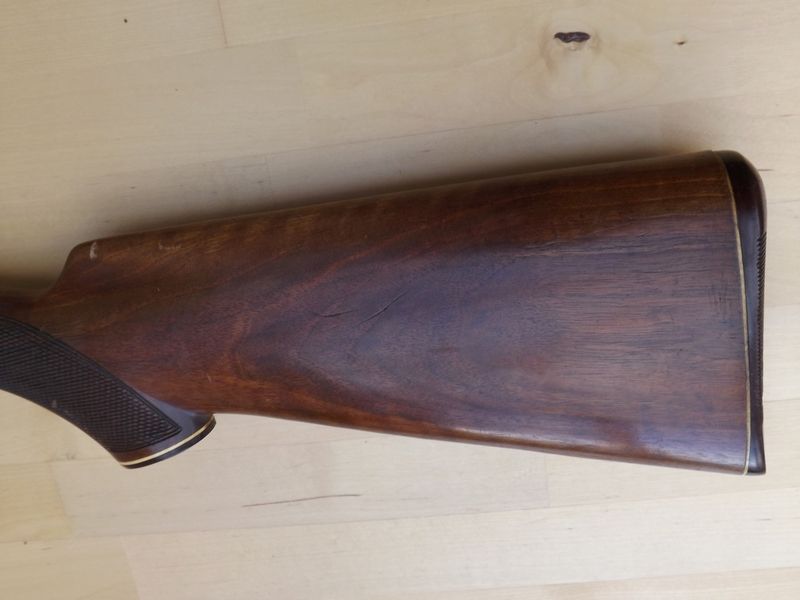
Next is preparing the wood for finishing at this point if you are refinishing a stock remove the old finish using whatever method you prefer, then remove small dents and scratches and other blemishes using abrasive paper starting with coarse and finishing with fine but larger dents will require steaming, for this I use a mix of 75% Ethanol 25% water a very hot clothes smoothing iron and a piece of towelling saturated with the Alcohol mix. I have moved quickly over the preparation stages because most people have their own methods of preparing a gun stock to the point of finishing so I have no intention of boring you with something you can already accomplish. Also why should I reinvent the wheel! Though at this point I would like to give some information on my choice of abrasive papers firstly I prefer to use what we call on this side of the pond �Glass paper sometimes called Flint paper� rather than the �wet and dry� Aluminium oxide varieties where the abrasives used are usually dark in colour and can leave dark patches if abrasive particles get into the wood�s grain and can be be very difficult to remove, whereas the flint/glass particles seem to become invisible if lodged in the grain.
Next I use the same Alcohol /water mix to flood the surface of the wood to raise the grain, when completely dry sand the stock with the finest abrasive paper you can obtain, then repeat the process again and this will be the last time you will put abrasive paper on the wood. Then again flood the woods surface with the Alcohol/water mix allow the wood to completely dry, but this time you use the uncoloured skin side of a piece of leather as a burnisher and using a medium pressure burnish the wood with the leather all over. You will be surprised how the woods surface changes to a low sheen and having a glass like feel, put the stock to one side to ensure the surface is completely dry and I can�t stress this enough COMPLETELY DRY!! Then give the wood a final burnishing.
Next the magic action of Alkanet with Walnut (here you can use a wood stain colour of your choice but it must be soluble in Linseed oil because it will be added to the finishing oil in the quantity given) traditionally the red oil has no dryers added and to apply it I find that putting a small pool of oil in the palm of your hand and then rubbing it in to the wood�s surface then repeating the process until you obtain the depth of colour require THEN LET IT DRY!!!! Normally I allow a week.
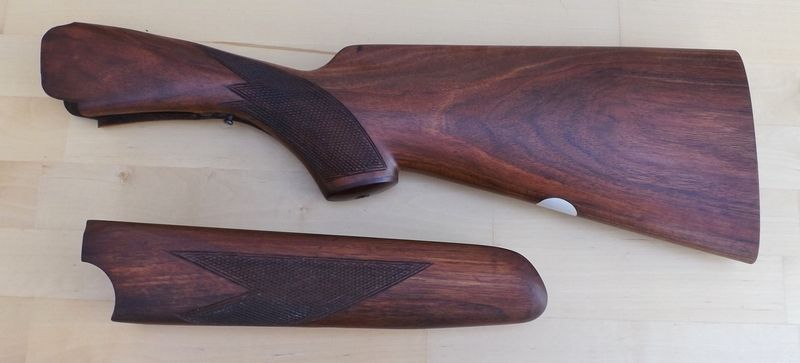
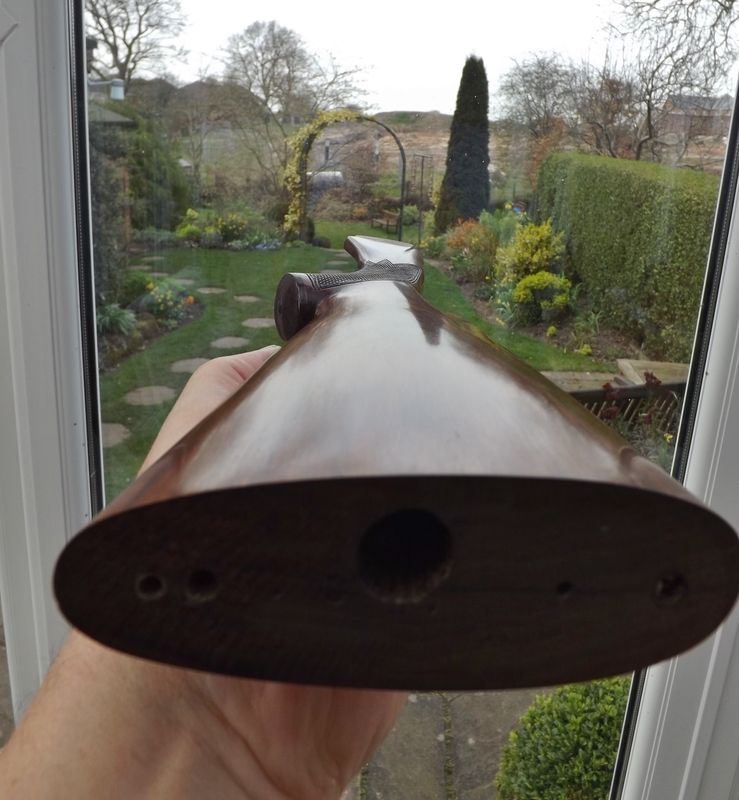
At this point your stock should look something like this, ready for the finishing oil application. And in the words of that 1930s song T�aint what you do (it�s the way that you do it) because we can all slap on finishing oil and hope for the best! Take some time and do it this way and you may surprise yourself.
Now I am sure that some of you have been thinking and may be wondering what about filling the grain because you can�t get a smooth flawless finish without doing it, and of course you are right. Now I feel that some explanation is needed here, this system of oil finishing a gun stock was developed so a gun or rifle for that matter could be used in all temperatures and humidity found in any country the gun may end up in. So the filling of the grain was not a separate operation but more an integral part of the finish giving a greater temperature stability and flexibility. And what miracle substance did the Brit Victorian stock finishers come up with to fill the grain? Hydrated Magnesium Silicate!!! To us mere mortals �Talcum Powder� because of the following properties it�s soft, takes up colour extremely well, nonabrasive and in a very thin layer virtually transparent when saturated with finishing oil, it does not affect the quality of the final finish if some escapes from the base coats into the final finish coats. And for all of those reasons that is why we added some �Red Oil� with dryers to the finishing oil mix so it will colour and bind the Talc in the wood�s grain and the low level coats of the finish. The slight colour tint in the finishing oil also adds that translucency to the finish giving that optical effect you can see directly into the woods grain. As they say there is nothing new under the sun and in the words of that song �it�s the way that you do it.�
The method!!!
Using your hands or a felt pad covered with a fine weave cotton cloth apply a generous coat of finishing oil and allow to dry (I can only give drying times from my only experience here in Brit land, you will have to adjust times for your location) about 24 hours.
Then sprinkle the stock with Talc in the approximate amount as in the photograph.
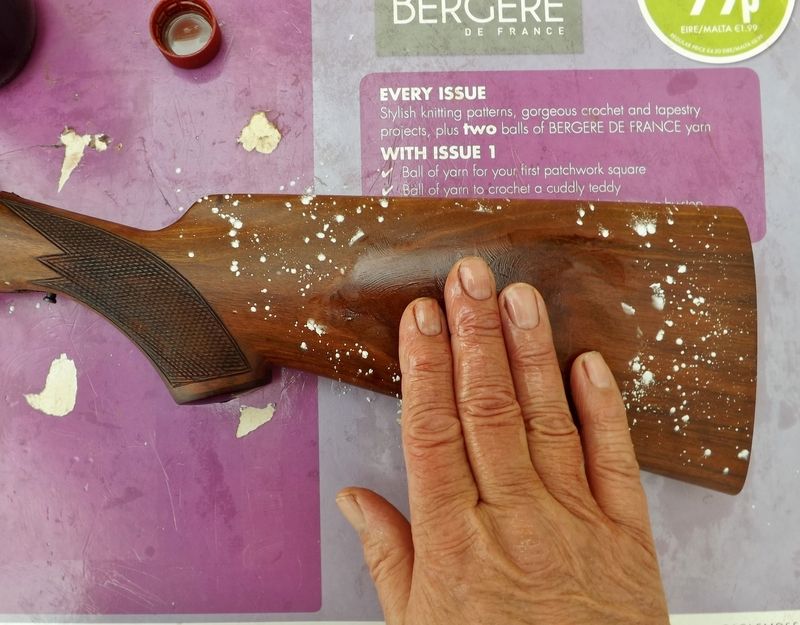
Next apply a couple of drops of finishing oil and using your hands or pad then rub the oil talc mix into the wood�s grain do your best to keep the oil talc mix out of the chequering if you are refinishing a stock failing to do so means laborious cleaning the finish out of the chequering lines I use masking tape to cover the edge of the chequering. keep rubbing in a circular motion until you can feel the oil start to drag indicating that it is drying. Then start to remove the excess oil and talc from the stock by rubbing your hands on a piece of clean cloth (I use an old towel or if using a pad use a dry pad covered with a clean cloth to remove the excess. Finally rub the stock with clean dry hands you will start to feel the surface drag and your hands start to heat up continue until the surface sheen looks even then put the stock aside to dry.
Repeat the above and at this point we are just filling the wood pores not trying to build up a surface finish on the stock. You will find some areas of the stock�s grain will fill quite quickly, when this happens turn your attention with the Talc and oil to the parts of the stock that require further filling. I must stress here that the complete surface finish we are aiming for is thin flexible and the wood perfectly smooth with no grain pores visible like this photograph shows.
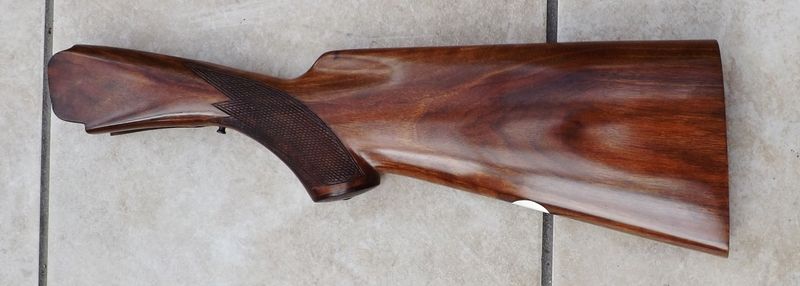
There will eventually come a point when all the grain is filled the surface of the wood is glass smooth this is the point where the Talc is no longer necessary so from now on it is finishing oil only. Though if you do find a patch of not so well filled grain just apply a little Talc and oil and work just that part of the stock as before. When you are satisfied that the grain is filled and the woods surface is completely smooth and glass like, it is now time to apply the final coats of finishing oil from my experience you should apply between six and eight further rubbed on coats keeping in mind that the finish should be thin to keep it flexible.
There are a number of benefits to using this finish firstly you can brighten up the stocks finish when it starts to look a little dull by putting a drop of finishing oil in the palm of your hand rubbing both your palms together then rubbing the thin film of oil quickly over the stock. This was very often done before a gun was returned to a customer after servicing, you may have sweated blood too mechanically repair his gun but a he only sees the fine looking stock that you only spent ten minutes to make it look good. And that is what the customer will judge his gun repair on. I can�t remember who wrote that but I am sure it was one of the large Birmingham trade gun repairers and never a truer word has been said.
If you require a higher gloss the application of a wax polish is the traditional way to achieve this.
Here is a wax wood polish recipe I use that is probably as old as time itself, it also works well on leather makes a dam good lip balm and keeps your hands soft as well as soothing them if they become chapped and not poisonous �what more could one want!�
One ounce of good quality Bees Wax (yellow or white)
One fluid ounce of Olive oil
To give a higher shine add a pea size piece of Carnauba Wax
Add the oil to the grated Bees Wax and Carnauba Wax warm gently in a glass jar surrounded by water, when all the wax has melted allow to cool. I add a couple of drops of lemon oil, it has no effect on the polish it just makes it smell nice apply sparingly with a soft cloth.
None of this posting is �Rocket Science� it just needs you to practice and refine your technique.
I do hope it works for you as well as it has done for me for the last forty years.
And finally to all those folks who religiously collect those hush hush secret not to be divulged antique formulas for gun stock finishes unless you also have the artisans how to use them information, they are just so much ink on paper. I am sure I would not be very wrong if I said that you did not expect the leather burnishing or the Talc to be used as a grain filler as a part of the final finish either Q.E.D.
Ernie.
Aka damascus


