When I first started doing barrels for myself, they were Damascus barrels. I would get these guns at a decent price because the bluing had worn off and on some were almost in the "white".
I learned from reading what Dr. Gaddy (RIP) had posted and started by making up a etchant solution container using 3"PVC with a solvent welded flat cap for the bottom and a screw off cap for the top. I used his recommendation of 15% by volume and the rest with distilled water. For the etchant I used Radio Shack.
The bluing solution I use is Laurel Mountain Forge. Easy to use and degreases also.
I had an aluminum tank 6"x6"x 48" with a lid that I used for steam bending the back posts of chairs I made. This worked out perfect and used a campfire 2 burner cooking stove for heat source. I leave them in until the water boils again, usually 10-12 minutes. Rinse and lightly card.
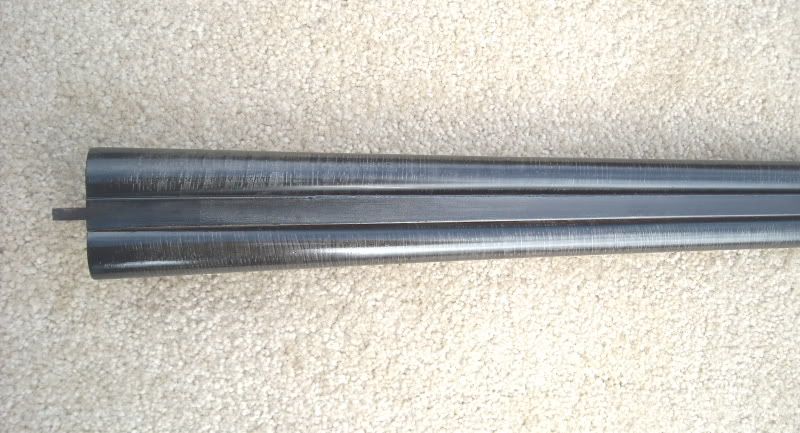
As to prep, I started out with 220 grit and worked my way up to 400 and on the last prep only going one way and do not stop in-between. I stay away from any lettering.
My rusting box is made of wood and also has a lid and inside I put a humidity gage and a small pan of water. The top of the box has a hole that I put a lamp that has an aluminium ring that holds it into the hole. I will leave the lamp on while I am down there and I usually rust in the evening and let it go until the next morning. The lamp is turned off when I leave. I can get the humidity over 80%. I only rust in the late spring and summer as I have found out that trying to rust in the winter is not good for me as I do not have a water source to rinse the barrels after etching.
For carding I have used steel wool after the etching and rinsing but did not like it. Most of the time I use an old denim patch from old jeans. Sometimes I'll use the maroon Scotch Brite.
Dr. Gaddy recommended about a 5-10 second dip in the etchant, and I find that is good.
I rust two times and then etch, rust again, etch and do it until the barrels look good to me. I do not bring them to the standard that Doug did, as then they do not look right on a gun that is not also finished.
For a final protective finish, Dr. Gaddy had recommended motor oil, or linseed oil. I tried the motor oil, not bad but lightly heating the barrels and then applying a light coat of linseed oil and let sit for a day or so is a nice protective coat and lasts.
Here are a few that I had done, not highly finished but good enough for what they are on.
One more rusting and etching.
Finished
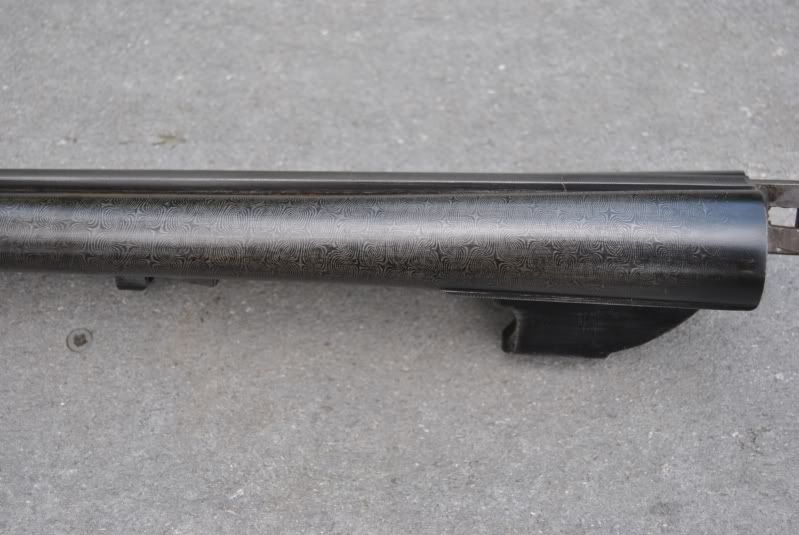
A set of Stub Twist
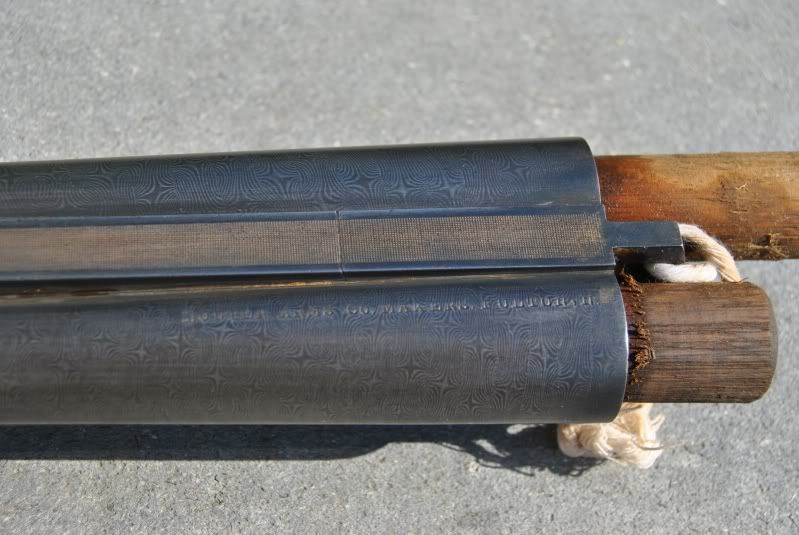
I left this out and is important when boiling and etching. I coat the inside of the barrels before doing anything with shellac. I then have wooden plugs made up that are fit into the barrels at both ends. Make sure they are long enough because they will swell and sometimes very hard to get out. Rubber stoppers do no work when boiling as they will blow out. They are ok when etching, but I usually just leave the wooden plugs in.
Shellac is easy to remove with alcohol that is soaked in a cloth and pushed through the barrels.


