|
S |
M |
T |
W |
T |
F |
S |
|
|
1
|
2
|
3
|
4
|
5
|
6
|
|
7
|
8
|
9
|
10
|
11
|
12
|
13
|
|
14
|
15
|
16
|
17
|
18
|
19
|
20
|
|
21
|
22
|
23
|
24
|
25
|
26
|
27
|
|
28
|
29
|
30
|
|
|
|
|
|
|
Forums10
Topics40,163
Posts571,482
Members14,677
| |
Most Online32,084
Jun 14th, 2026
|
|
|
|
Joined: Nov 2013
Posts: 254
Sidelock
|

Sidelock
Joined: Nov 2013
Posts: 254 |
+1 on the Super Glue filler, with walnut sawdust patted on. If you want to get really cute, you can steal a chip of wood from the stock's barrel channel, or throughbolt hole with a small gouge, then use the same gouge to chip out the bad spot, drop a bit of super glue on the spot, then put a sandwich baggie on your finger, and press the chip into the spot. If you match the grain direction, the repair will be invisible, after a scrape/sand down and finish. I use a 1/4" block carvers rounded gouge. If you forget the baggie, your finger will be part of the repair, and won't match walnut color too well(LOL).
Last edited by xs hedspace; 01/03/14 03:13 PM.
hippie redneck geezer
|
|
|
|
|
Joined: Dec 2008
Posts: 168
Sidelock
|
|
Sidelock
Joined: Dec 2008
Posts: 168 |
Don't be put off restoring a stock , it can be done as the before and after photo's show. I always use Boiled Linseed oil, it can take weeks of applying and rubbing down with fine wire wool. Several years ago in my local library I found a book now out of print by a Swedish self taught knife maker Bo Borgman. He says that Boiled Linseed oil alters its composition over time. I cannot remember all he said but this book is well worth finding. [img:center] 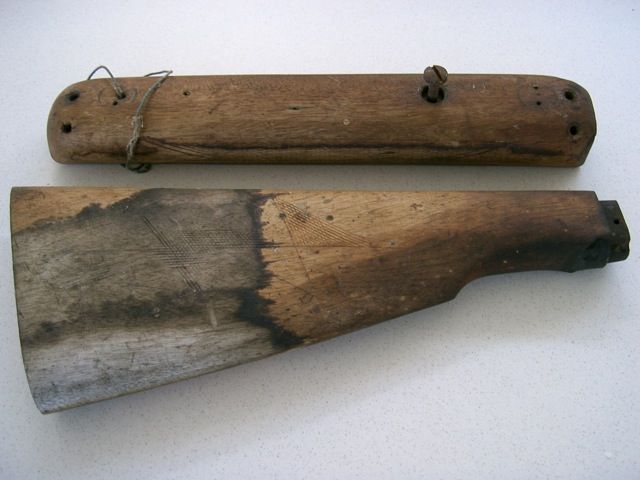 [/img] [img:center]  [/img]
Last edited by Nero; 01/03/14 05:41 PM.
|
|
|
|
|
Joined: Dec 2008
Posts: 168
Sidelock
|
|
Sidelock
Joined: Dec 2008
Posts: 168 |
Hi Michael and Harry, your two post's were a bit of a coincidence as just before Christmas I bought an old Carl Zeiss Diatal scope in good condition complete with mounts from the internet. It arrived the first day we had post after Christmas and was very pleased with what came out of the box, except for the screws on the mounts which were all stuck fast. Emailed the seller and he said send it back and he would refund my money. Phoned my gunsmith the same day and he said no problem and told me he would do exactly what you two chaps have suggested. [img:center] 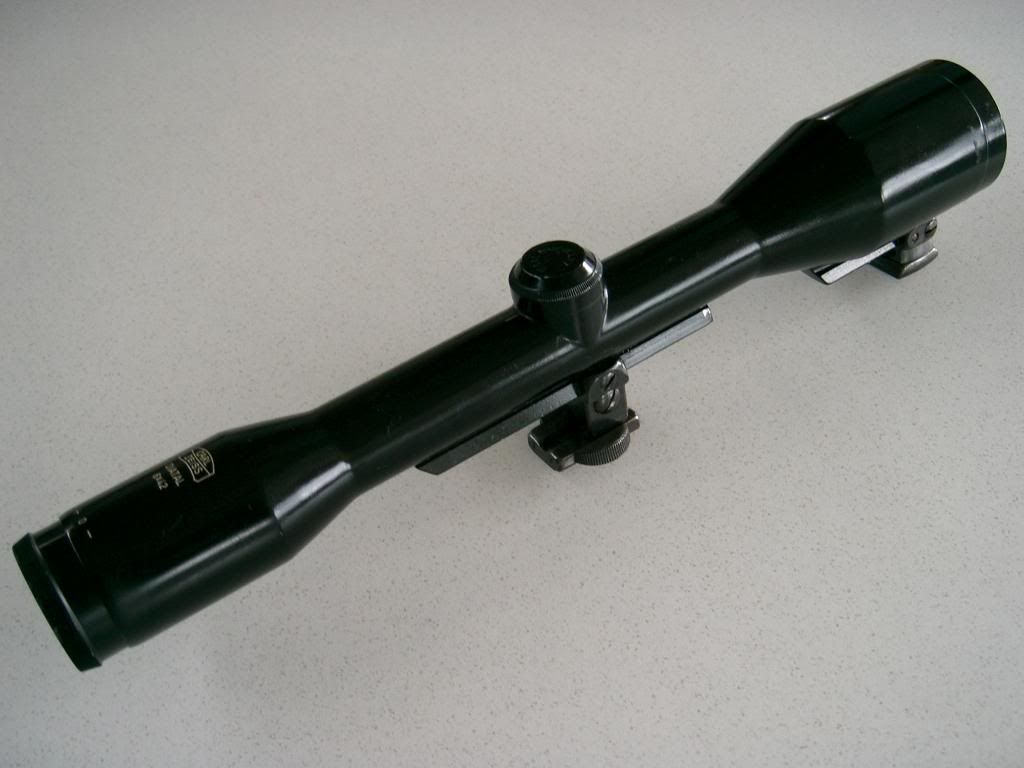 [/img]
Last edited by Nero; 01/03/14 06:10 PM.
|
|
|
|
|
Joined: Feb 2002
Posts: 1,955 Likes: 262
Sidelock
|
|
Sidelock
Joined: Feb 2002
Posts: 1,955 Likes: 262 |
It doesn't hurt to run some super glue into those end grain cracks found under butt plates, grip caps, ect either. The glue soaks in and runs into the cracks like penetrating oil into a steel joint.
It's amazing how far some of them run into the butt stock. I just did some up on a Model 31 stock and had the glue start to pin point dot the out side of the stock 2 inches from the end from following the flame grained AmWalnut.
I usually clamp a chip in place using superglue. The chip fits tight to begin with but a little oversize. Then the clamping forces it into the check or damaged area.
It may even crumble the tiny chip a bit, but all the better as it will be force fit of sorts and no hint of a line exists around the repair.
When sanding the repair off, as a final finishing touch, you can
leave the fine sanding dust on the surface, run some more superglue onto the area and then quickly resand it again,,, glue, sandingdust and all. It will quickly harden over but will fill any small imperfections or pores that might have been showing. Maybe you want them to show, in which case you fore go this step.
Any solvent based stain will penetrate it easily, but it should be taken down level with the original wood surface so as not to leave a glaze on the surface anyway.
The pieces used and the repairs being made are small and there's no chance of the method pushing the wood farther apart by wedging. We're only talking repairing small cracks and damage.
FWIW,,Super glue is a pretty good locktite too in an emergency,,but you have to get the screw down fully into position fast! or the stuff will set up on you and be stuck w/the fastener half in,,half out.
The restricted space must make for the instant set up.
It'll take some heat on the tip of the screw from a soldering gun to loosen it usually,,it holds quite well.
Works metal to metal, or metal to wood. (tooth repair! ouch..)
Good clean surfaces of course.
|
|
|
|
|
Joined: Sep 2011
Posts: 152 Likes: 2
Sidelock
|
|
Sidelock
Joined: Sep 2011
Posts: 152 Likes: 2 |
For screws made of mild steel (most of them), a quick dip of the heads in Kasenit will minimize burring. Do not do this with screws made from drill rod or equiv. or the head will split when torqued.
Chuck
|
|
|
|
|
Joined: Dec 2001
Posts: 6,881
Sidelock
|
|
OP
Sidelock
Joined: Dec 2001
Posts: 6,881 |
All good comments, keep them coming.
On many older rifles you will see that the wood has split between the trigger hole and the magazine box hole. Before you glue this back together clamp it until they are together then try both the magazine box and the barreled action. I learned this lesson the hard way.
I think some wood did not dry enough before it was used and over the next 50-100 years it shrunk and cracked.
Cracks at the back of the tang are common on these older rifles as it seems all the gunmakers inletted everything as close as possible. I have pictures in my file of a very nice "Unknown" that has a horn insert at the back of the tang and it looks good. last week I saw a picture of a G&H that had the same thing done to it.
MP Sadly Deceased as of 2/17/2014
|
|
|
|
|
Joined: Dec 2001
Posts: 6,881
Sidelock
|
|
OP
Sidelock
Joined: Dec 2001
Posts: 6,881 |
Depending on your skill wood can be replaced and on some rifles it's not worth the cost to have someone else do it. This rifle I bought years ago because it had a long slide Lyman 48, a nice buttplate and engraved floorplate. The maker was unknown, still is, and the work was not top notch so I tried to put it back together myself. I made several mistakes that I , hopefully, learned from. The rifle had been broken in two, a 1/4" steel plate was inletted into the side and then wrapped with many layers of black electrical tape. A piece of the stock was gone at the bottom of the buttplate. 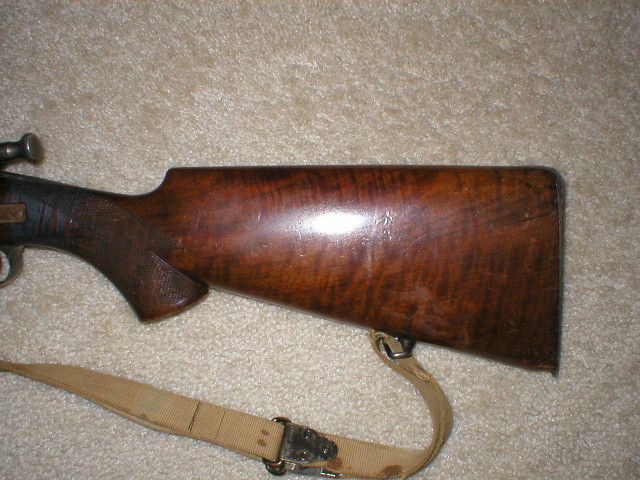 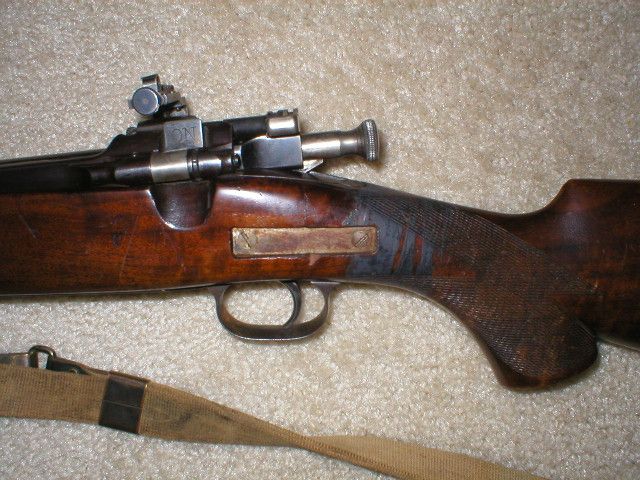 
MP Sadly Deceased as of 2/17/2014
|
|
|
|
|
Joined: Dec 2001
Posts: 6,881
Sidelock
|
|
OP
Sidelock
Joined: Dec 2001
Posts: 6,881 |
MP Sadly Deceased as of 2/17/2014
|
|
|
|
|
Joined: Dec 2001
Posts: 6,881
Sidelock
|
|
OP
Sidelock
Joined: Dec 2001
Posts: 6,881 |
My biggest mistake on this rifle was I cleaned up the area where the steel plate was then fitted a piece of wood into the hole. What I should have done was set it up in the mill, mill every this out and round both ends. The vertical ends make the repair stand out where rounds ends would not have. 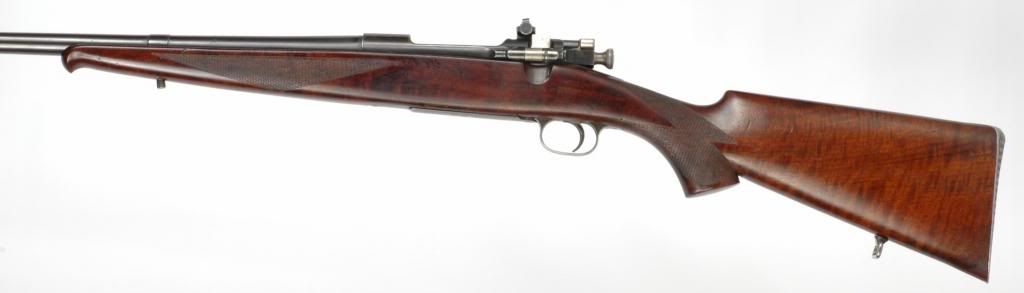 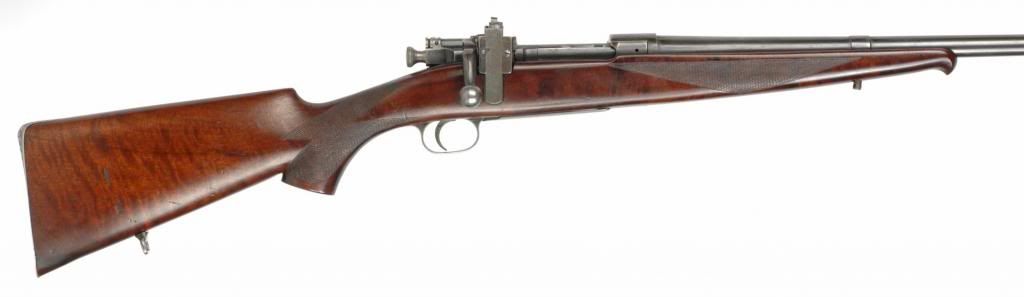
MP Sadly Deceased as of 2/17/2014
|
|
|
|
|
Joined: Dec 2001
Posts: 6,881
Sidelock
|
|
OP
Sidelock
Joined: Dec 2001
Posts: 6,881 |
Here is what a professional job looks like. The stock and the action were both cut out for a bent bolt. 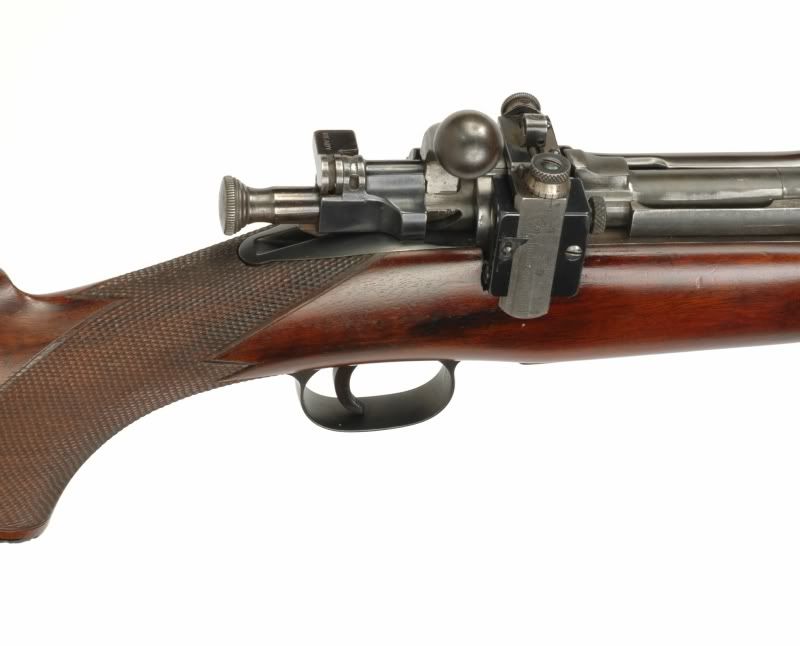
MP Sadly Deceased as of 2/17/2014
|
|
|
|
|


