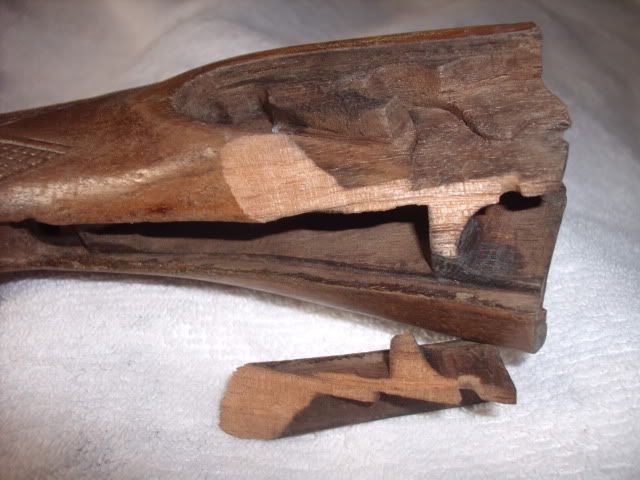
Not being a big fan of drilling an extra hole in an already weak area; I use a tapered hardened pin to "auger" it back into the hole. All the other screws are loosly installed and I clamp the receiver into a padded vise.
This is my understanding of how it was done at the factory.
Jim
I use the same method with the added help of a screwdriver blade. Sometimes levering the spindle over with just the punch leaves a mark on the side of the screw countersink. That's one thing to look for if you suspect a redone or in the least disassembled gun in the past.
Some have the strength to pull that truck-like spring over by just pulling on the punch or pin inserted in the hole. Not me!
With a pin punch in the hole of the spindle, a screwdriver with a deep notch in the blade is used to push the spindle over. Your stomach is the 'push' power behind the screwdriver. That leaves your hands free to guide the trigger plate down into position, one hand best used to keep the spindle itself from dropping down in the assembly.
It will actually snap into place as the spindle enters the hole in the trigger plate.
The rear tang screw and the front trigger plate screw haveing been tightened just enough to put a bit of tension on the whole assembly before you give it the push.
Lay a piece of thin leather accross the bottom of the action with a small hole punched in it if you like to avoid any chance of something maring the finish.
In the Marlin factory, this is exactly how the LCS were assembled. It works quickly and perfectly each time.
I was shown the technique when I worked there in the early 70's by a gentleman by the name of John Miller.
He had been with the Company since the 1930's and had done LCS assembly and repair there. He still had his kit of 'specialty' tools for the job.
(He was not enthusiastic about the 'new' LCS that Marlin was trying to market at the time. He refused to have anything to do with those new edition LCS guns.
I think it was the glued on ribs that did it!
The small 'off limits' room full of new LCS's with blown bbls was one thing he made sure to show me.)
I still use that simple LCS re-assembly method.
No alteration to the gun necessary and no special tools other than a screwdriver with a notch in the blade.
I use one I have filed out to a spanner bit for removing the spindle nut on a Fox for the chore.
Also on the LCS,
The forward bridle screw is sometimes fitted by filing the head of it once it's in the tightened position in the lock assembly.
That was done to make the lock plate lay flat against the regular frame at that upper corner.
The screw will show a few file strokes to only a portion of the head sometimes, or be filed at an angle.
If on replaceing the screw, that file adjusted area doesn't mate with the frame edge inside as originally done,,the plate will sit high or low off the frame edge on the outside when the lock plate screw is tightened.
The small forward side plate screw(s) on the FW frame are the same screw as the bridle screws.
Sometimes you can use one of the bridle screws to replace a severely damaged plate screw,,but not always as they may have been filed off too much, round headed or altered otherwise.
No need to take the cocking rods out unless something needs repair.
The cocking arm that engages the hammer is a simple press fit onto the back end of the rod. A square hole onto a square peg like a hammer on a lock tumbler.
Drive them out from the back with a long punch while supporting the frame. Carefull you don't damage the edges of the frame or tang while using the punch and hammer as they can be at a slightly odd angle when doing so depending on your punch diameter.
Mark and keep separate 'left & right' as with all the duplicate parts.