Well, it didn't rain today, so got a few pictures made. Not really high quality, but show the basics.
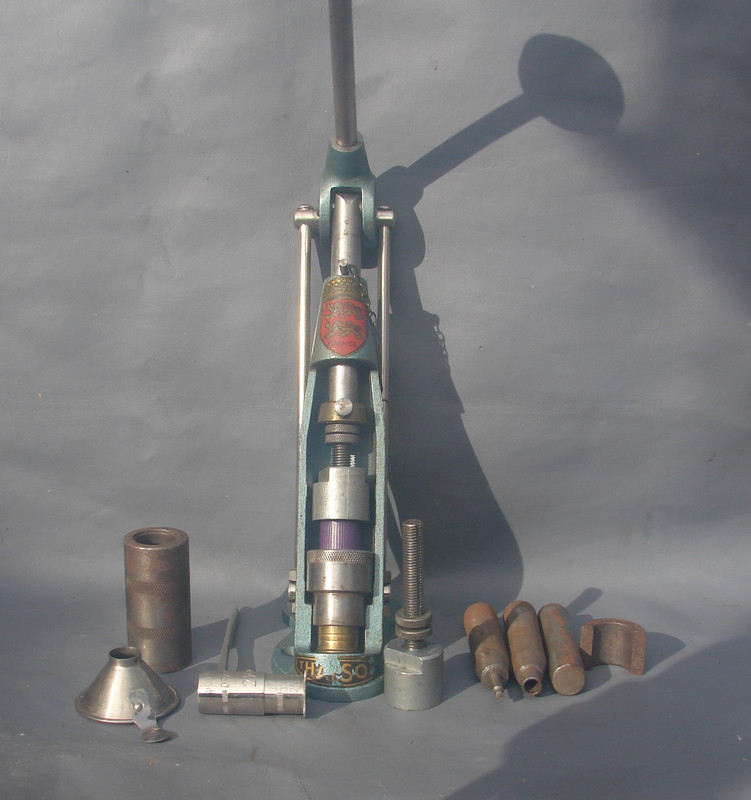
Thalson 16 gauge, Set Up for final crimp
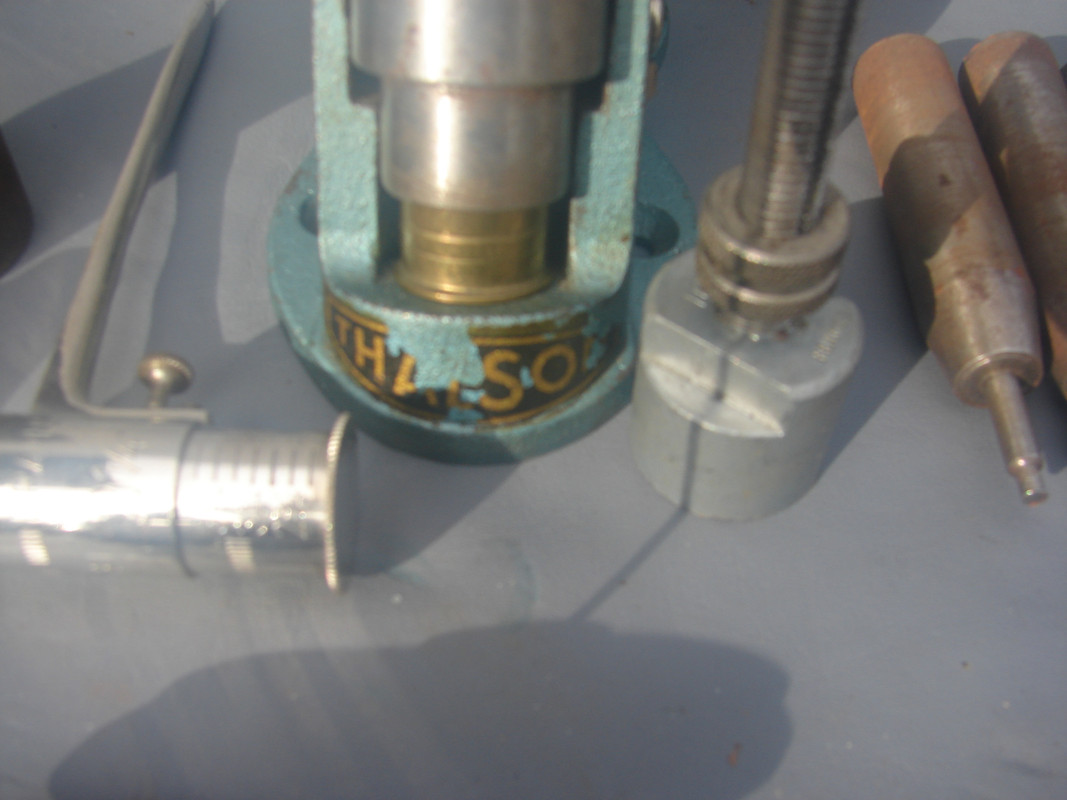
Thalson Logo

CloseUp of Crimp Starter & shot/Powder Dipper
 photoupload
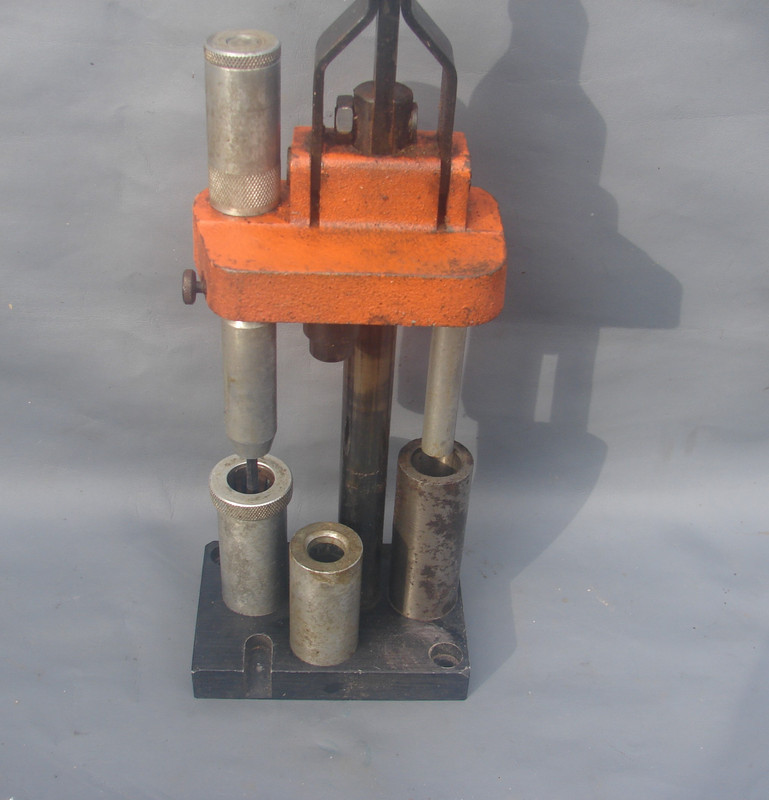
Lyman Vandalia
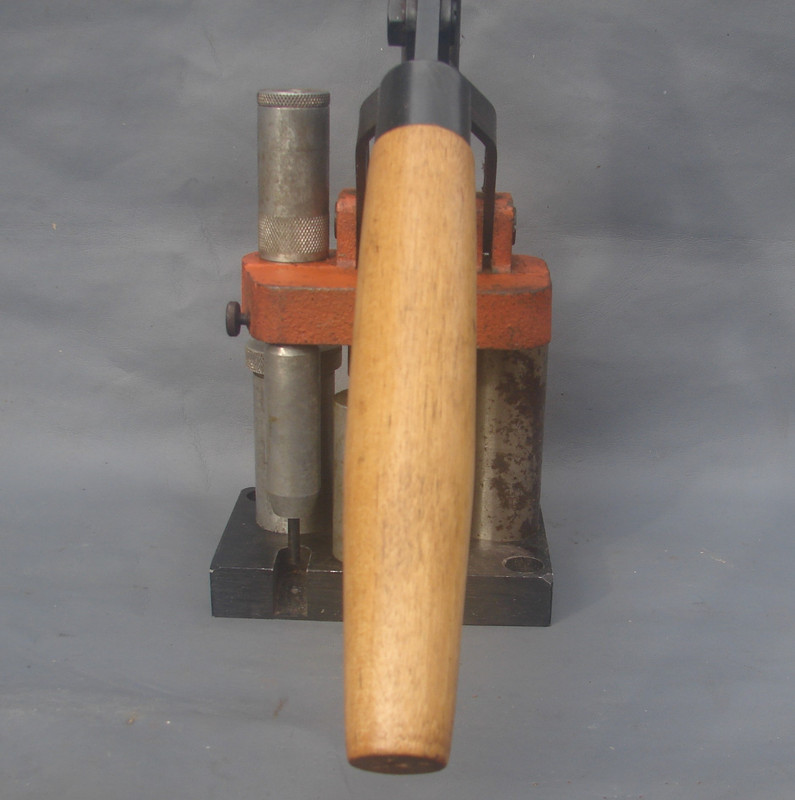
Operating Handle on the Vandalia
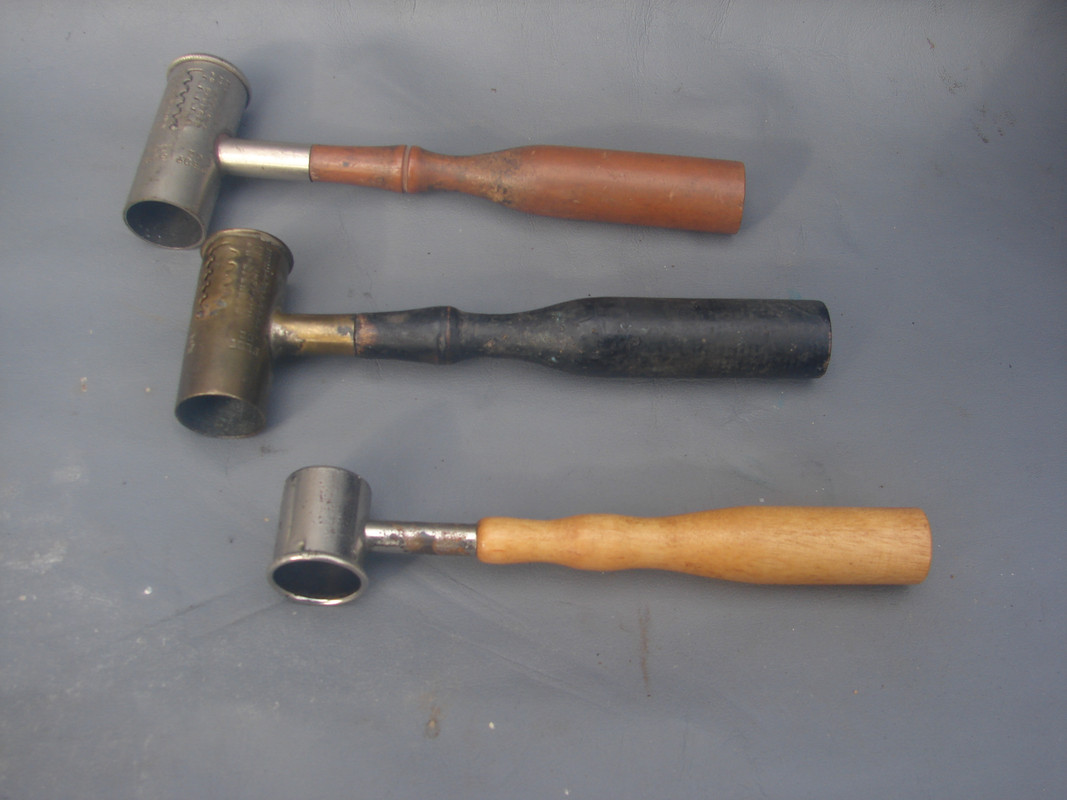
3 of my Shot/Powder Dippers
 gif hosting
On the Vandalia note the crimp starter & final crimper have a slot running up through the threads, they just slide in & are secured with a knurled head set screw. The threads are only for the adjusting locknuts. If you look close you can see the little pin inserted into the ram which serves as a stop for crimping. With the ram down against the stop pin, the starter or crimper is adjusted to come to the proper position & can, therefore, be adjusted for different case lengths. The shell guide for crimping should seat on the shelf which is visible in the pictures. This shell I picked up for the pic was not reloaded on this tool & there was apparently a bit of difference in the sizing dies diameters so the brass head will not enter the guide
On the Vandalia, there is a bit of an optical illusion. It appears the decapping punch is trying to enter the wad guide. In reality, the decapping pin pushes the fired primer put into the slot you see in the base. The wad rammer is invisible, being behind the decapping pin. The resizer is shown at back right position. For sizing it is inverted with C'bore to the top, the hull is started & it is set at front position & top plate pushes the hull into the die. It is then inverted & sits in a C'bore in the base so knockout runch can loosen it.
Crimper is in the front center but this design did not include a crimp starter. One was normally not needed when reloading a fired paper case.
On the dippers, the small one in front is a Lyman


